What are vocal presets and why should you create your own?
If you're a music producer or a vocalist, you've probably heard of vocal presets. These are pre-configured settings that can be applied to your vocal recordings to achieve a specific sound or style.
Vocal presets are widely used in popular digital audio workstations (DAWs) like Ableton Live, Logic Pro, and Pro Tools.
While there are many ready-made vocal presets available, creating your own can give you more control over your sound and help you develop a unique vocal style.
Step 1: Start with a clean vocal recording
The first step in creating your own vocal presets is to start with a clean vocal recording. Make sure you have a good quality microphone and a quiet recording environment. Eliminate any background noise and ensure that your vocals are recorded at an appropriate level.
- Open a new project in your DAW and create a new audio track for your vocal recording.
- You can do this by clicking on the "+" button in the Tracks area and selecting "Audio" from the drop-down menu.
- Once you've created the new track, you'll want to record your vocal track or import a pre-existing one into your DAW.
This will provide a solid foundation for your vocal presets.
Step 2: Experiment with EQ and compression
EQ (equalization) and compression are essential tools for shaping the sound of your vocals. Experiment with different EQ settings to enhance the desired frequencies and remove any unwanted ones.
- Make sure to adjust the input levels and add any necessary effects (such as compression or EQ) to your vocal track before moving on to the next step. This will ensure that your preset will be tailored to the specific sound of your vocal recording.
- Use compression to control the dynamic range of your vocals and achieve a more balanced sound. Play around with different settings until you find the right balance for your voice.
Step 3: Add effects to enhance your vocals
Once you have your EQ and compression settings dialed in, it's time to add effects to enhance your vocals. Popular effects include reverb, delay, chorus, and pitch correction.
- Once you have your vocal recording set up and processed, it's time to create your preset. First, select the track that you want to save the preset for, and go to the Mixer window.
- In the channel strip for your vocal track, adjust the settings to your desired sound. This may include adjusting the EQ, compression, reverb, or any other effects you want to use.
- Make sure to experiment with different settings until you find a sound that you like and want to save as your preset
These effects can add depth, space, and character to your vocals. Experiment with different settings and combinations to find the effects that work best for your style.
Step 4: Save and organize your vocal presets
After you've created your custom vocal presets, it's important to save and organize them for easy access in the future. Most DAWs allow you to save presets, so take advantage of this feature.
- Once you've settled on the settings for your preset, it's time to save it.
- Give your preset a name and save it to a location on your computer where you can easily access it.
- Now, your vocal preset is ready to use in any future projects! Simply load the preset onto a new vocal track by clicking on the channel strip settings button and selecting your saved preset from the drop-down menu.
Give your presets descriptive names and organize them into folders based on the style or genre they are suited for. This will save you time and effort when working on future projects.
Step 5: Continuously refine and improve your presets
There are a ton of free vocal presets you can get a hold of online but when it comes to creating your own vocal vocal presets, its an ongoing process. As you gain more experience and experiment with different techniques, you'll discover new ways to improve your presets.
- Once you've created your vocal preset, it's a good idea to test it out and make any necessary adjustments. Create a new vocal track and load your preset onto it.
- Record some test vocals and listen back to hear how the preset sounds. If there are any adjustments you want to make, simply go back to the channel strip for the vocal track, tweak the settings, and re-save the preset.
- It may take a bit of trial and error to get your vocal preset just right, but once you have it, you'll be able to save time and achieve a consistent sound across your projects.
Don't be afraid to revisit and refine your presets as your skills and taste evolve. Keep experimenting, learning, and refining to create vocal presets that truly reflect your unique style.
Step 6 - Time & Money Opportunity
Now that you've created a great vocal preset, you can use it to save time and streamline your workflow. Instead of spending time tweaking settings on every vocal track, simply load up your preset and you're good to go.
This can be especially helpful if you work with a lot of vocalists or if you produce a lot of music with vocals.
But that's not all - you can also share or sell your vocal preset to other artists. If you have a unique sound that other artists are interested in, they may be willing to pay for your preset.
This can be a great way to make some extra money and get your name out there as a producer.
To share your vocal preset, simply export it from your DAW and upload it to a platform like Fiverr or Etsy. You can also share it with other producers in online forums or on social media.
If you decide to sell your own vocal presets, make sure to price it appropriately and include instructions on how to use it.
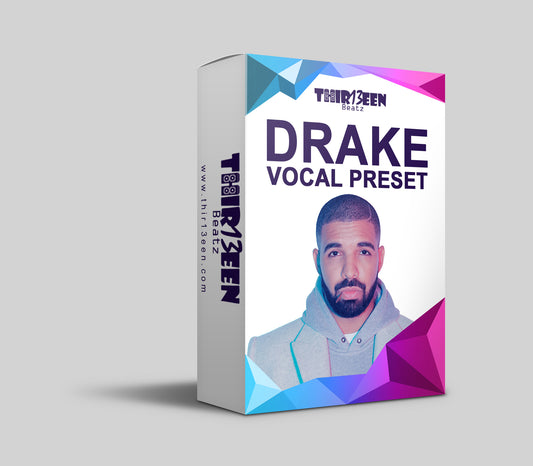
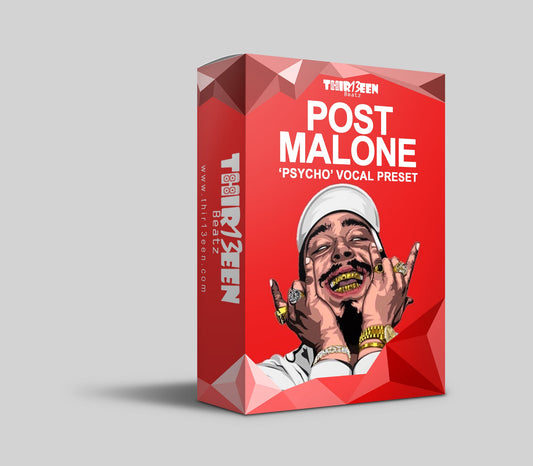
Here is an example of my vocal presets ive created that have made me over $150K and helped thousands of artists sound better.
By creating and sharing your vocal preset, you can not only save time in your own production process but also potentially make some money and establish yourself as a producer with a unique sound.
Final Thoughts
Creating your own vocal presets can be a rewarding and creative process. It allows you to have full control over your vocal sound and develop a signature style.
Remember to start with a clean vocal recording, experiment with EQ and compression, add effects to enhance your vocals, save and organize your presets, and continuously refine and improve them.
With time and practice, you'll be able to create vocal presets that make your vocals stand out in the crowd.
Recommended Articles:


